Last updated: October 22, 2026
Quick answer
For How to Introduce a Cat to a Carrier Without a Fight, expect 3 to 7 short sessions before many cats will calmly step in, and longer for wary cats. Put the carrier out early, feed near it, reward each calm approach, and only close the door for 1 to 10 seconds at first.
In short: cat carrier training works when the carrier stops feeling like a trap and starts feeling like part of the furniture. Put the carrier out, make it smell familiar, feed near it, reward every calm step toward it, and only then close the door for a few seconds at a time.
If the goal is to get a cat into a carrier without wrestling, the answer is not “be faster.” It is to build a habit before the vet trip or move. A carrier shoved out the night of an appointment will usually trigger a scramble. A carrier that has lived in the room for days or weeks can become a normal object instead of a cue for panic.
This guide is about How to Introduce a Cat to a Carrier Without a Fight, not buying the “perfect” carrier. It focuses on behavior: carrier desensitization, positive reinforcement, where to place the carrier at home, towel handling, and small stress-reduction habits that make the last step easier. For broader planning around transport, the pet travel safety hub belongs nearby.
What you need before you start
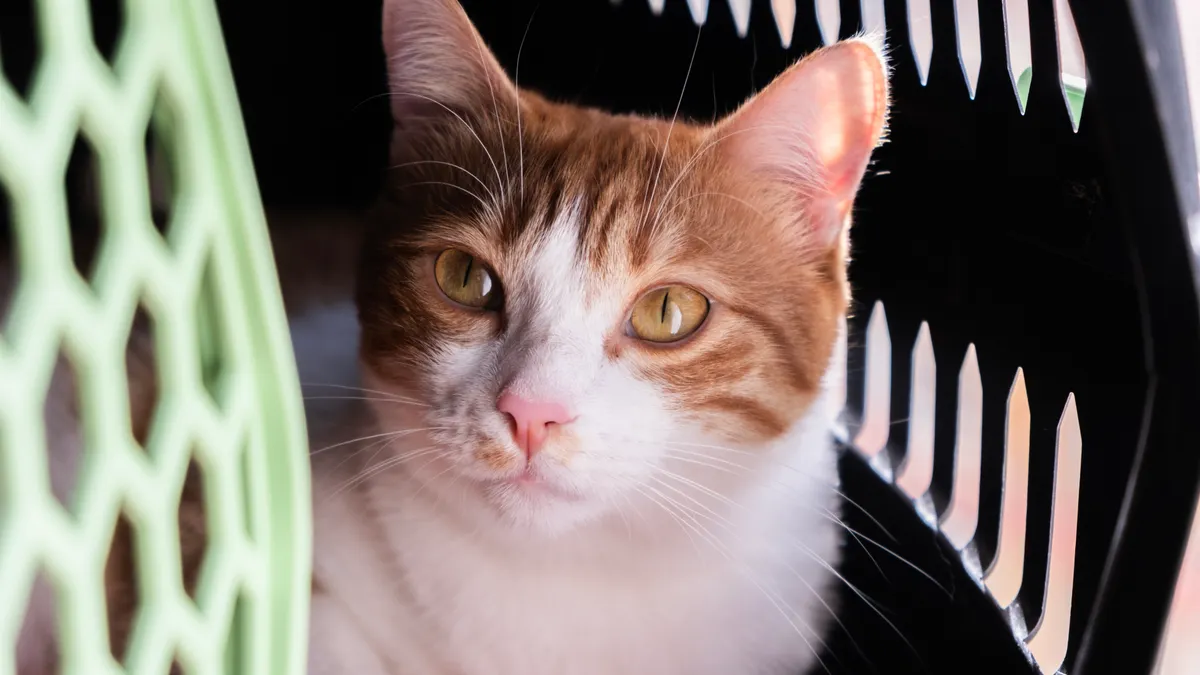
You need the cat carrier, a blanket or towel, a few treats your cat actually wants, and ideally a pheromone spray made for cats. If you are unsure what is safest for your cat’s temperament, consult a veterinarian or veterinary behaviorist before starting.
A hard-sided carrier with a top-opening door is often easier for training than one that only opens at the front, because you can reward the cat without fully closing it in. A familiar blanket inside the carrier helps because scent matters more to most cats than the shape of the plastic shell. If your cat ignores dry biscuits, try tiny bits of cooked chicken or tuna water only if your veterinarian says those treats are appropriate for your cat.
You also need time. This is not a 5-minute trick. A nervous cat may need several short sessions over 3 to 7 days; a more cautious cat may need longer. The point is not speed. The point is to avoid the carrier becoming a predictor of being grabbed, shoved, and driven somewhere unpleasant.
Pick a quiet room with a door you can close. Turn off loud appliances for the session. If there is a second pet in the house, keep them out of the room so the cat does not have to compete while deciding whether the carrier is safe.
How do you get a cat used to a carrier?
You get a cat used to a carrier by making it part of daily life before you ever try to use it.
-
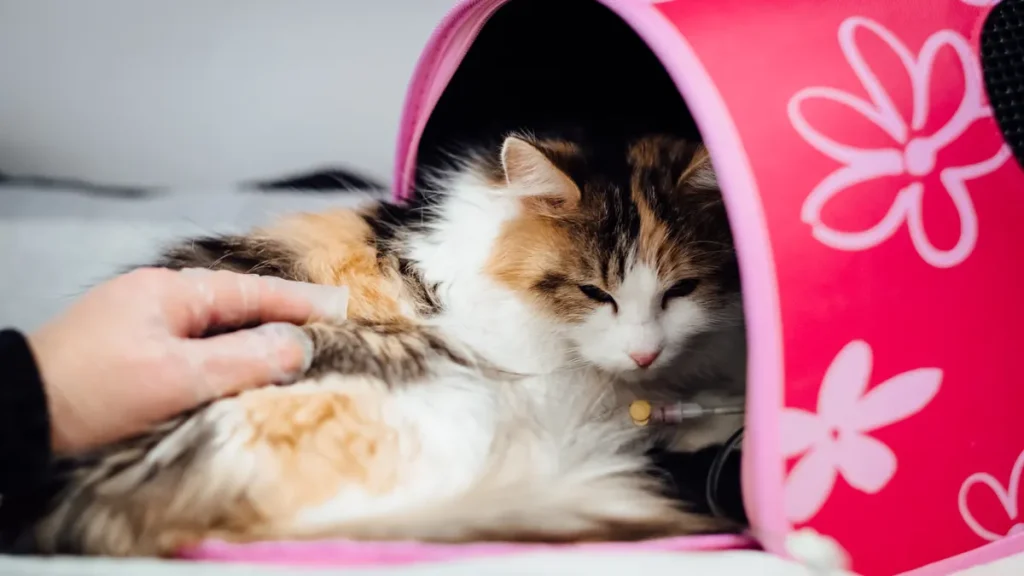
Put the carrier in a normal room, not in the garage or a closet. Leave it there with the door tied open or removed if possible. The result you want is a piece of furniture your cat can inspect on a random Tuesday, not a hidden box that appears only on bad days.
-
Line the bottom with a blanket or towel that smells like home. If the carrier has a removable pad, use it. The goal is a stable surface and a familiar scent, not a slippery plastic floor that feels like a trap.
-
Feed treats near the carrier, then just inside the doorway, then farther in over 2 or 3 short sessions, but slow down or stop if your cat looks tense; consult a professional if you see fear, freezing, or swatting. When the cat walks in, even briefly, that is progress. You are teaching approach, not forcing entry.
-
Feed one meal near the carrier if your cat is relaxed enough. Some cats will eat with the door open next to them on day one; others need the bowl 2 feet away first. Move only when the cat remains calm.
-
Add a pheromone spray to the blanket 15 minutes before a session if you use one. Do not spray directly where the cat will sit right away. Let the smell settle so the carrier carries a calming association rather than a strong chemical burst.
-
Practice closing the door for 1 second, then open it and reward the cat. Over several repetitions, work toward 3 seconds, then 5, then 10. The cat should stay relatively relaxed; if it bolts backward every time, you moved too fast.
-
End each session before the cat gets fed up. A calm exit is the win. If the cat leaves on its own and comes back later to investigate, the training is working.
The mistake most people make is skipping straight to “put cat in carrier.” That turns one training session into a fight the cat remembers. A carrier desensitization plan only works if each step stays small enough that the cat can succeed without panic.
Where should the carrier live at home?

The carrier should live in the room your cat already uses, ideally where a window, couch, or feeding area makes it part of the scenery.
A carrier hidden away until vet day is a novelty object. A carrier that stays in the living room, bedroom, or another frequent hangout spot becomes background noise. Most cats tolerate what they see every day much better than what appears only during stressful routines. If your home is small, even a corner by a bookshelf works. If your cat prefers a sun patch, use that. The exact room matters less than repeated exposure.
Keep the carrier accessible. If it lives behind stacked boxes, you will not use it often enough to normalize it. If the door must be fully removed to feel safe, that is fine during training. A carrier that stays open and visible for 1 or 2 weeks usually gives the cat more chances to investigate on its own.
Do not place it beside the litter box. That is a common error and a bad one. Cats often avoid eating, resting, or entering places that smell like waste. A carrier near the litter box can pick up the wrong association before you even start. Keep at least several feet between them, and choose a quieter spot if possible.
If your cat is extremely wary, rotate between two carrier-friendly rituals: a treat tossed inside in the morning, and a blanket refresh in the evening. The repetition matters more than the exact timing. A carrier that appears as part of ordinary home life is much easier to use on the day you need it.
How to get the cat into the carrier without a wrestling match
You get the cat into the carrier without a wrestling match by preparing the environment first, then guiding rather than grabbing.
Start with the carrier already open and lined. Put it on a stable, non-slippery surface at floor level if possible. If the carrier rocks, the cat will hesitate. Keep the room quiet and close the door so the cat cannot vanish under a bed halfway through the attempt.
Use the treat trail method first. Place 3 to 5 treats in a line leading into the carrier. Let the cat eat them. If the cat steps inside, do not rush to close the door. Pause for a beat, add one more treat, and only then begin to close the door slowly; if the cat seems worried, stop and consult a professional before trying again.
If the cat freezes at the doorway, switch to a blanket-guided approach. Hold the blanket flat behind the cat and gently encourage forward movement by narrowing the escape space, not by pushing on the spine. The blanket is there to guide movement and protect your hands if the cat suddenly kicks or twists. This is especially useful with cats that back out quickly once they feel pressure.
For a cat that still resists, place the carrier upright with the door facing up if the model allows it, then lower the cat in rear-end first while supporting the chest and hips with a towel. This is not gentle in the cuddly sense, but it can be calmer and safer than a chaotic front-first shove. Keep the motion decisive. Hesitation often makes cats panic more than a smooth lift does.
The final move is simple: close the door, latch it, and cover the carrier with a light blanket if that reduces visual stress. A blanket over the top can help some cats settle because it cuts visual stimulation. Leave enough airflow; do not wrap it tightly.
The rule here is plain: if the cat is fighting hard, stop and reset instead of escalating. Forcing the issue once teaches the cat that the carrier predicts a battle. The next time gets harder, not easier.
What mistakes make carrier training fail?
The biggest mistakes are moving too fast, using the carrier only for bad events, and turning the whole process into a chase.
A fast schedule costs you trust. If you go from “carrier on the floor” to “door closed” in one session, many cats will remember the trap, not the treats. The fix is to split the steps across 2 or more days and stop while the cat is still calm.
Using the carrier only for the vet or the move makes the carrier a warning sign. If the cat sees it for 364 days a year only when something unpleasant is about to happen, no amount of last-minute coaxing will erase that pattern. The fix is simple: keep it out, keep it open, and use it for short practice, not just emergencies.
Chasing the cat around the house is another costly error. It spikes adrenaline before the carrier ever enters the picture. Once that happens, even a well-trained cat can become slippery and uncooperative. If the cat has hidden, wait it out if you can. A 20-minute delay is often better than a 20-second wrestling match.
Blanket handling can go wrong too. If you use a towel as a restraint without practice, you can create a bigger struggle. The towel should support the body and protect your hands, not pin the cat hard against the floor. If you need to towel-wrap your cat for safety, ask your veterinary team to show the technique before the day you need it.
A final mistake is rewarding the wrong behavior. If the cat claws out of the carrier and then gets comfort treats, the cat may learn that escape ends the session and earns snacks. Give treats for calm entry, not after a dramatic exit.
How do you keep the trip itself less stressful?
You keep the trip less stressful by making the carrier feel stable, quiet, and predictable from the moment the door closes.
Carry the carrier with two hands if the model has a handle, or use both arms under the base so it does not swing. Swinging adds motion the cat did not choose. In the car, place the carrier on a flat surface and secure it so it cannot slide. Sudden movement is a stress multiplier.
Cover the carrier with a blanket if your cat settles better with less visual input. Leave a side uncovered enough for airflow. Many cats relax when they cannot watch every turn and shadow. Others prefer partial visibility. Use what reduces struggling, not what looks neat.
Avoid loud voices, repeated checking, and opening the door “just to see.” The cat usually does better when the trip feels boring. If the destination is the vet, tell the clinic in advance if your cat becomes hard to handle. A clear note at check-in can save time and reduce surprises at the exam table. For general transport prep, see the cat carrier safety guide and the vet visit checklist.
For a move, keep the carrier as the last step before leaving and the first safe place after arrival. Put the cat in a quiet room with the door closed while boxes are still moving. A cat that arrives with the carrier already familiar has one less shock to absorb.
If the goal is broader planning for car rides, home moves, or holiday transport, the pet travel safety hub can sit alongside this training page. This article’s job is narrower: teach the carrier itself to stop feeling like a fight.
Carrier options and training basics
| Carrier type | Typical price | Best for | Tradeoff |
|---|---|---|---|
| Soft-sided front-entry carrier | $25-$60 | Calm cats and short trips | Less rigid structure |
| Hard-sided front-entry carrier | $30-$80 | Everyday vet trips | Harder to reward inside |
| Hard-sided top-opening carrier | $40-$100 | Carrier training and easier lifting | Usually bulkier |
| Two-door carrier | $50-$120 | Flexible loading and vet visits | Can be heavier |
Key Takeaways
- Start with the carrier in the room, not in a hiding place.
- Use treats, a blanket, and short sessions to build calm repetition.
- Move from sniffing, to stepping in, to brief door closures in small steps.
- Keep the carrier out between trips so it does not become a bad omen.
- If your cat panics, slow down instead of forcing the next step.
- A steadier approach now usually means fewer scratches, less fear, and an easier vet day later.
How do you get a scared cat into a carrier?
A scared cat usually needs the carrier to feel normal before it can be used without a fight. Keep the carrier open at home, feed near it, and work up to short door closures over several sessions. If you must move the cat the same day, use a towel for support and a calm, direct motion rather than a chase.
How can I make my cat less afraid of the carrier?
You make the carrier less frightening by changing what it predicts. Leave it out in a regular room, line it with a familiar blanket, and feed treats inside it in tiny steps. A pheromone spray can help some cats, but the main driver is repetition without pressure. Progress is measured by relaxed approach, not by speed.
Should I leave the carrier out all the time?
Yes, if your home has the space and your cat will tolerate it. An open carrier in a common room becomes less suspicious over time. That said, some cats need it in a quieter corner, and some homes simply have no practical spot. The carrier should stay accessible, visible, and separated from the litter box.
Sources
- American Association of Feline Practitioners: https://catfriendly.com/feline-health/cat-carriers/
- Cornell Feline Health Center: https://www.vet.cornell.edu/departments-centers-and-institutes/cornell-feline-health-center
- American Veterinary Medical Association: https://www.avma.org/resources/pet-owners/petcare/cat-carriers-travel
Drafted with AI; not yet reviewed by a person.